 |
|
To
acquire the Bluetooth transmisison technology we first built
a "distributed" version of the Data Acquisition Unit,
which was not mobile at all. The core of the system was a universal
Phlips 80C552 microcontroller board. |
| |
|
|
 |
|
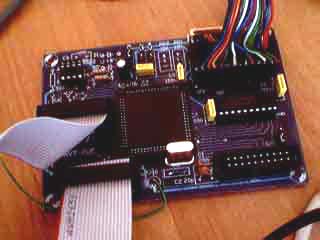
To
be able to communicate with the "outer (real?) world"
we developed an I/O board featuring:
- 32
kB of external RAM memory
- I2C
interface
- LCD
display
- RS232
serial port
- debug
LEDs
- small
keyboard
The
I/O board was of course connected to the microcontroller board.
|
| |
|
|
 |
|
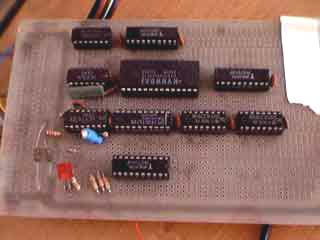
As
the Philips 80C552 has no Flash EEPROM we had to execute the
microcontroller software using an (self-made of course) EEPROM
emulator.
The
microcontroller binary program is loaded through a parallel
port, then - the emulator resets the microcontroller and the
new program is being executed.
|
| |
|
|
 |
|
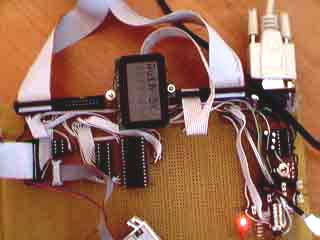
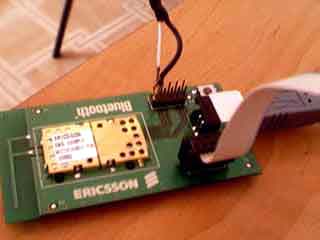
Finally,
we connected one of the precious Bluetooth modules to the
rest our machinery.
After
weeks of tests, we developed the main DAU software (rougly
over 4 KLOC of 8051 microcontroller assembler code)
|
| |
|
|
 |
|
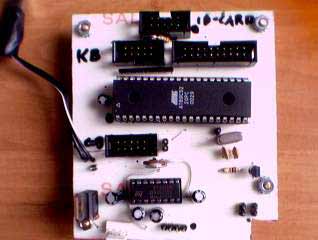
After
the microcontroller software reached a more or less stable
state we started to develop a mobile version of the device.
The
best thing to start with is a PCB (Printed Circuit Board).
This one contains:
- Atmel
80C52 microcontroller (ran at 22.1184 MHz)
- power
supply
- LCD
display, ID card, keyboard and Jazz sensor interfaces
- MAX232
for RS232 communication and Bluetooth module interface
|
| |
|
|
 |
|
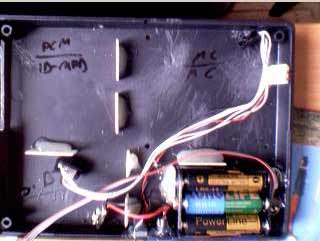
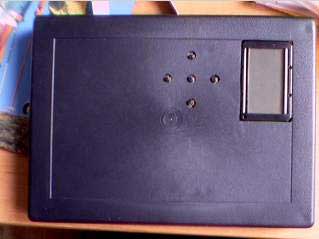
Here
- the biggest fun starts - squeezing all the parts (microcontroller
main board, Bluetooth module, PCM codec board, Jazz interface
board, ID card interface, batteries, LCD display and LEDs)
into the box (18x11x6 cm).
We
started with drilling holes (for the LCD display and the ID
card interface) in the bottom of the case and placing blocking
elements.
|
| |
|
|
 |
|
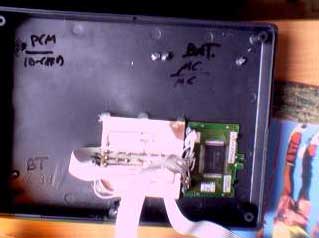
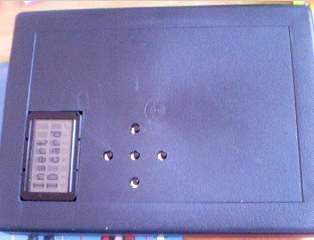
In
the top of the case LCD display, keyboard and LED diodes were
mounted. |
| |
|
|
 |
|
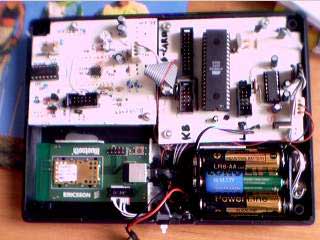
Just
to connect everyting with some cables (note that under the PCM
codec board there is the ID card interface and under the microcontroller
board there is the Jazz interface boards), and ... |
| |
|
|
 |
|
...
we are ready to close the box ... |
| |
|
|
 |
|
...
and to turn it on.
It
didn't blow up !
Moreover
- it works and (as expected) wants an ID card (which is a
separate story). Well done
!
|